


Setting Up Your Laser with Lightburn Software
Over the years, various software companies have developed several laser software applications that can drive CO2 laser engraving machines. These useful programs convert the images in your computer into a format that the laser can understand, and finally send the data to the laser for carving. However, lightburn, such a laser software tool, has been developed and become the de facto standard, which is heard by all professionals and recommended by most people. After years of development, Lightburn software is not only a laser control system, but also an advanced design and editing tool, which can be used to create designs from scratch or transform and manipulate existing designs. Therefore, it is worthwhile to spend time learning all the functions of Lightburn software and understanding its working principle.
Introduction to LightBurn laser software
LightBurn is a laser cutting machine software that integrates layout, editing and control. With LightBurn, you can not only import drawings in a variety of common vector graphics and image formats (including AI, PDF, SVG, DXF, PLT, PNG, JPG, GIF, BMP), but also arrange, edit, and even create new vector shapes in the editor. The software has powerful functions such as offset, Boolean computation, welding and node editing; In terms of application settings, there are other functions such as power, speed, pass times, cut order, brightness and contrast, jitter mode, etc. The software can send the results directly to the laser cutter. Written as a native application for Windows, Mac OS, and Linux, LightBurn's interface is intuitive and easy to use for sculptors using different applications.
LightBurn talks directly to your laser without the use of other software. The software currently supports most controllers based on Ruida, Trocen, TopWisdom and GCode. Supported GCode controllers include Grbl, Smoothieware, GRBL-LPC, and Marlin. Available Ruida controllers include RDC6442G/S, RDC6445G, RDC6332G, RDLC-320A and R5-DSP, and it also supports Trocen controllers including AWC708C, AWC608 and TL-3120 models.
Designed specifically for lasers, this software can talk directly to your lasers without the use of other software. If your controller is based on GCode, Ruida, Trocen, or TopWisdom, it may already be supported even if it's not listed -- download the free trial and try it yourself. If that doesn't work, sometimes it only takes a day or two to make the changes needed to support a new board in these existing families. Note that it does not support the stock M2-Nano board in the popular K40 laser. The motherboard does not provide the ability to control power through software - we recommend that you upgrade the motherboard to take full advantage of LightBurn, Monport 40W LightBurn works directly with LightBurn, no motherboard upgrade is required, But if you have previously purchased another K40 laser cutter that does not work with Lightburn, upgrading the motherboard to better fit Lightburn may be necessary.
How to add the laser to LightBurn?
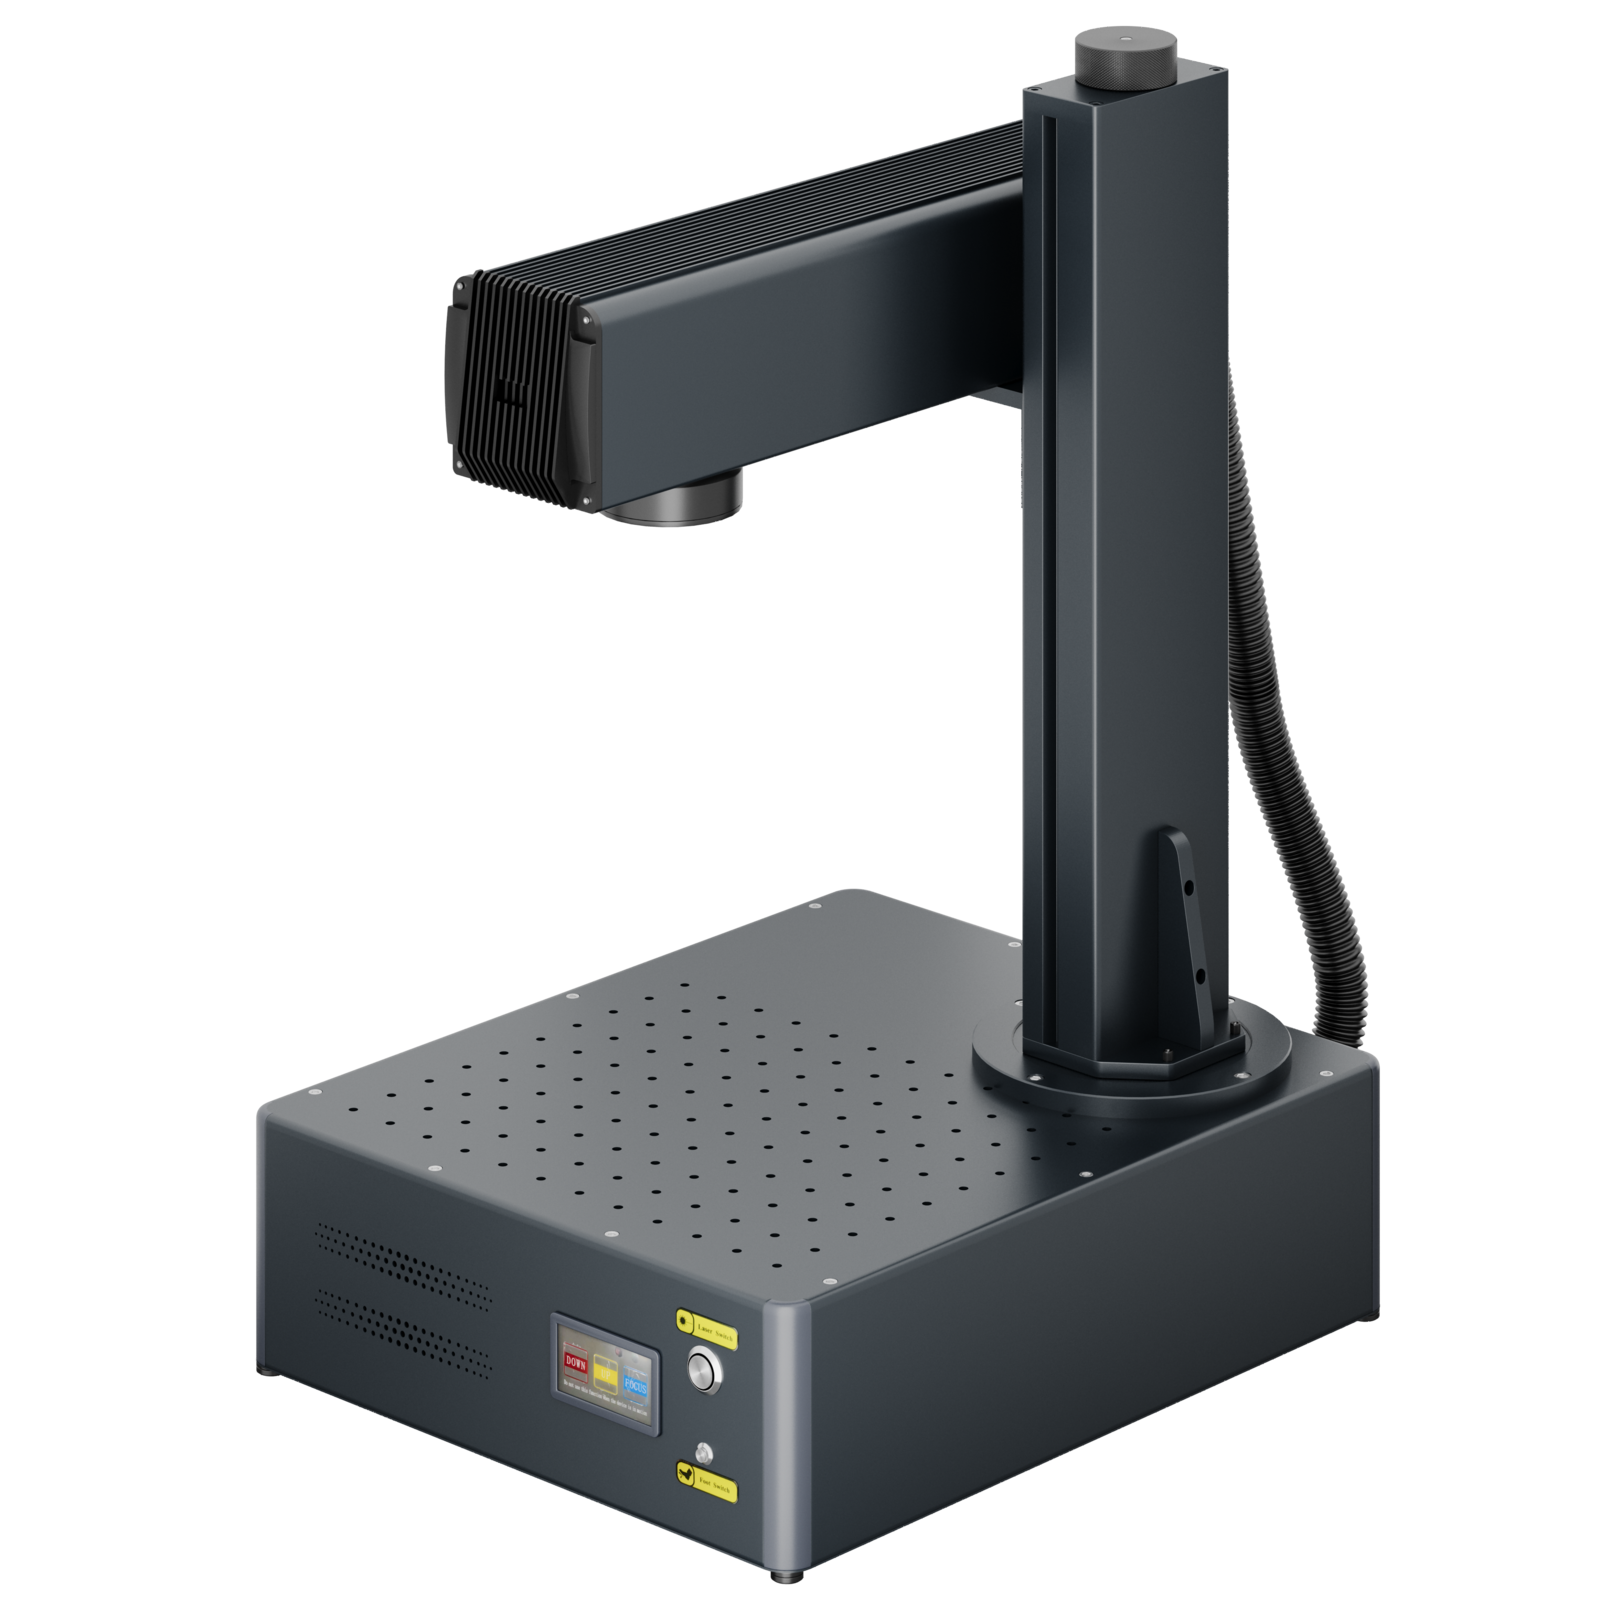
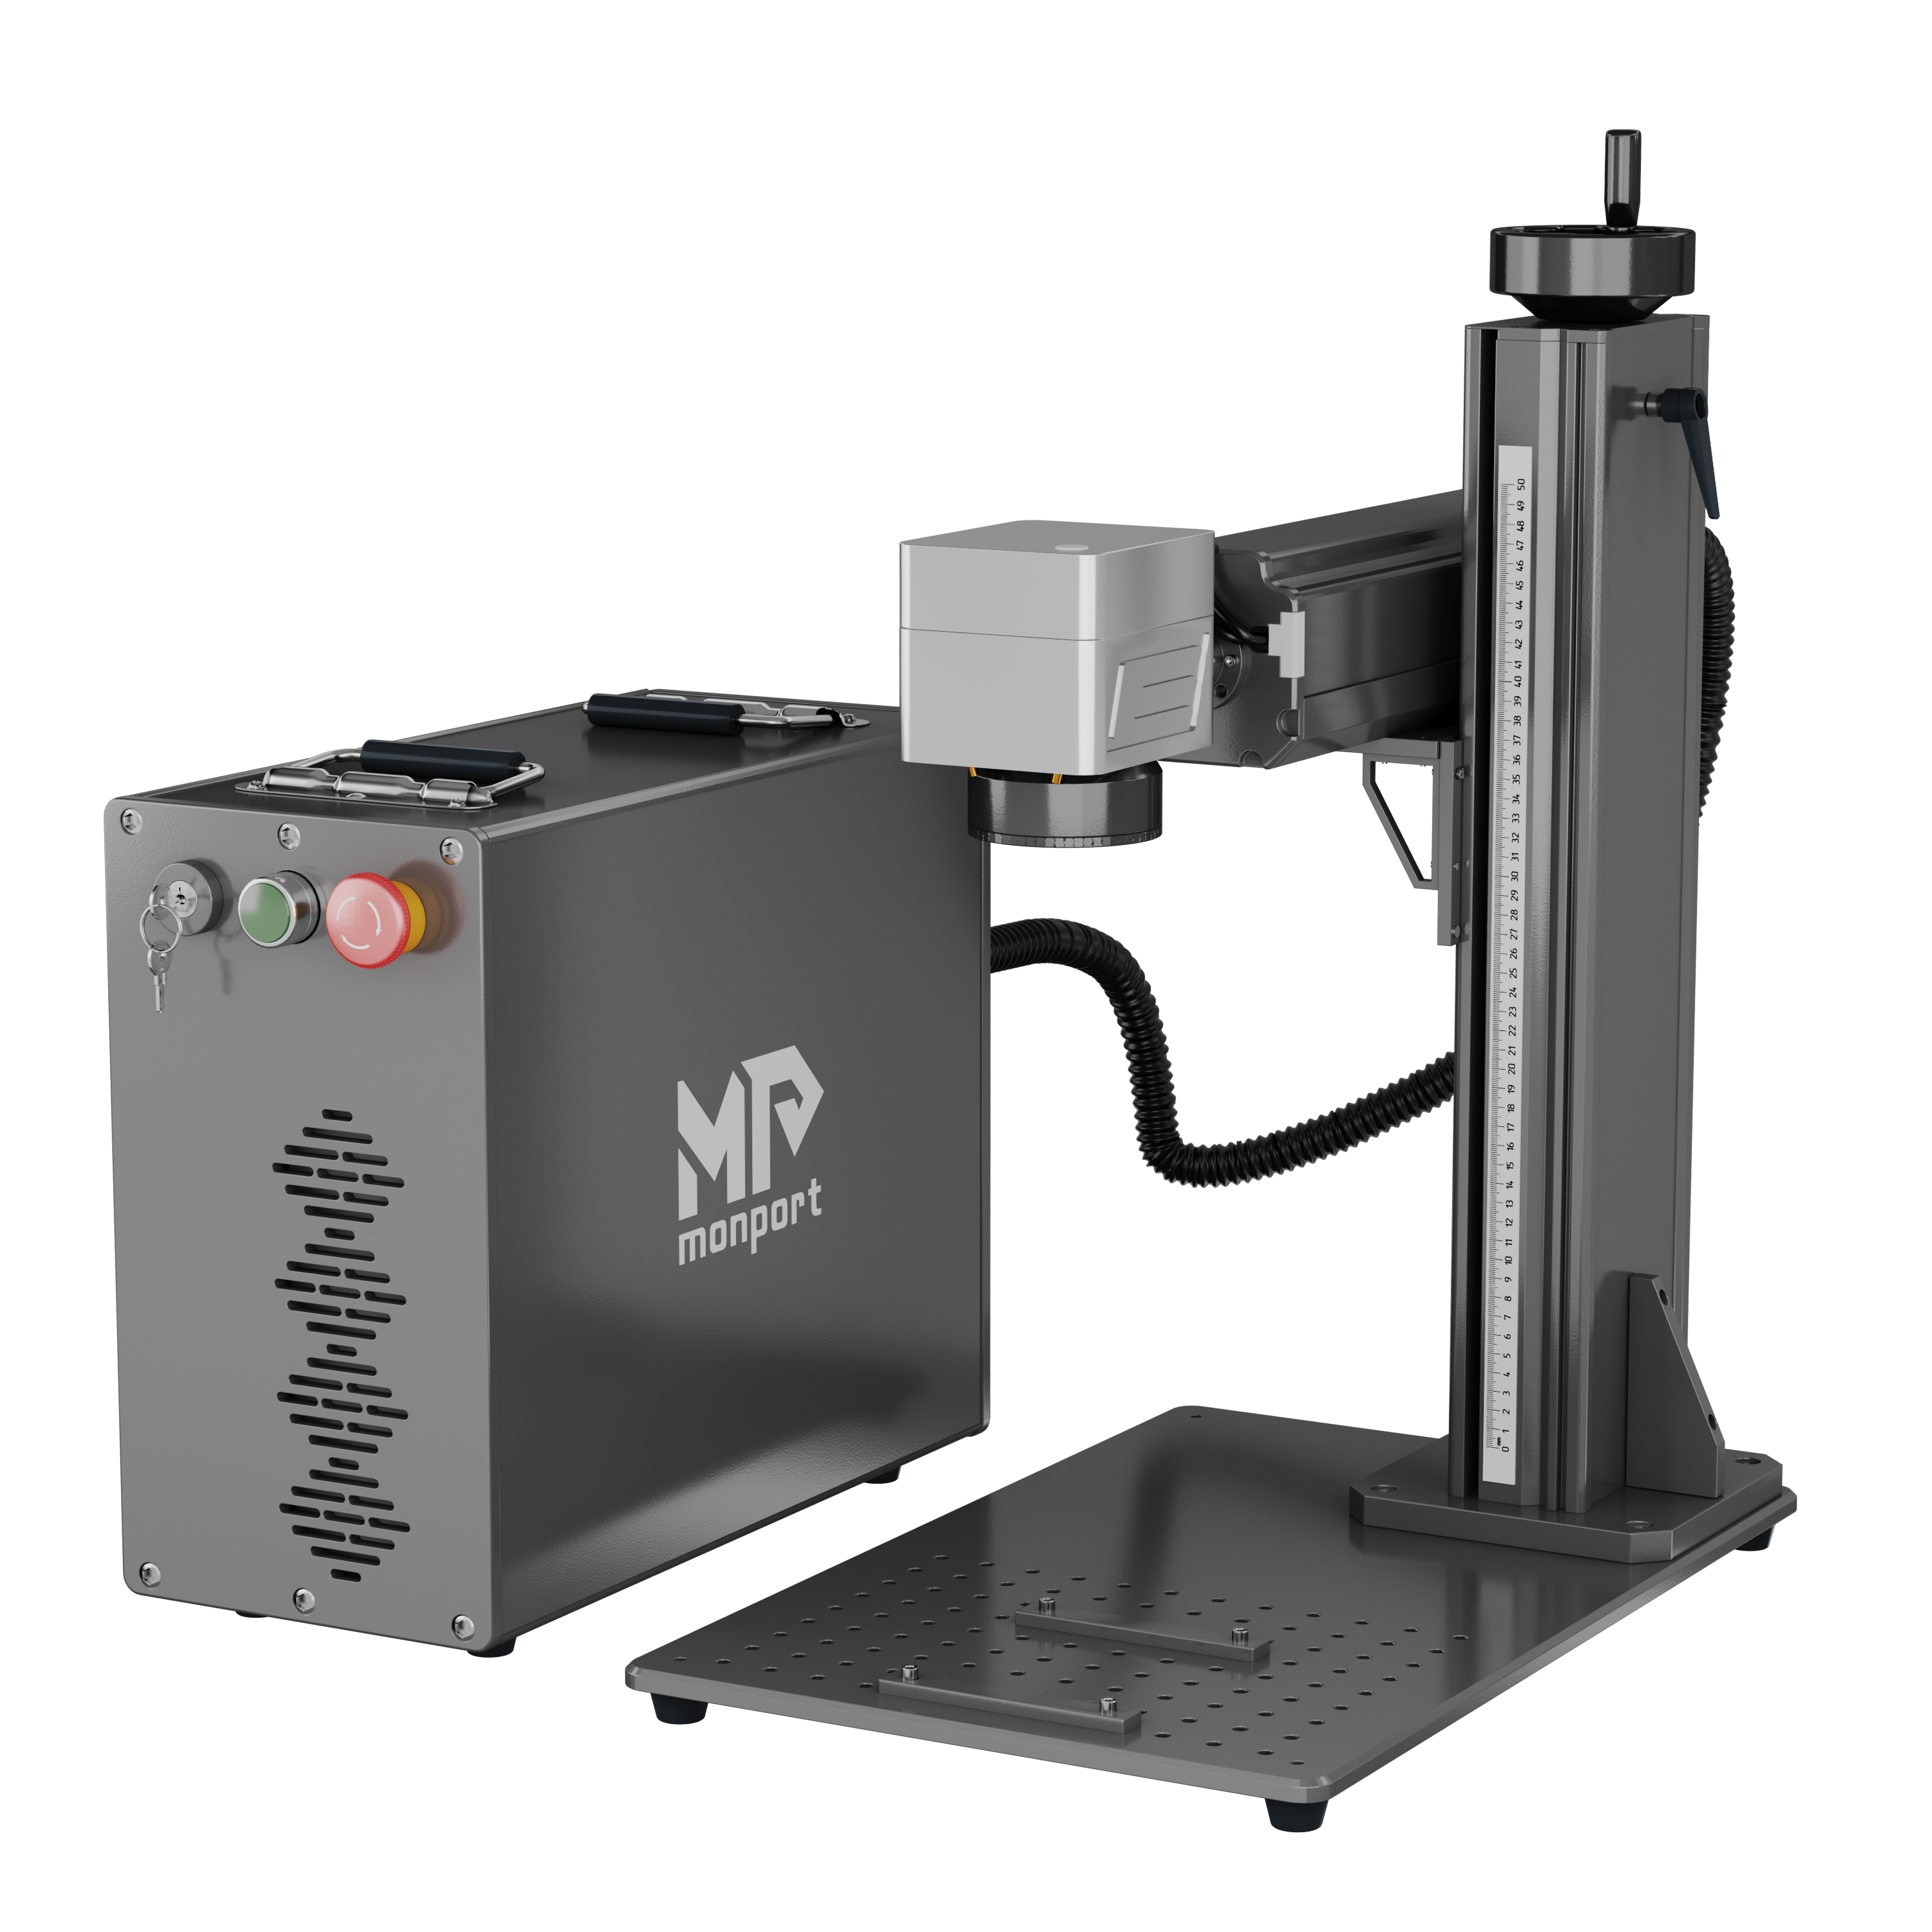
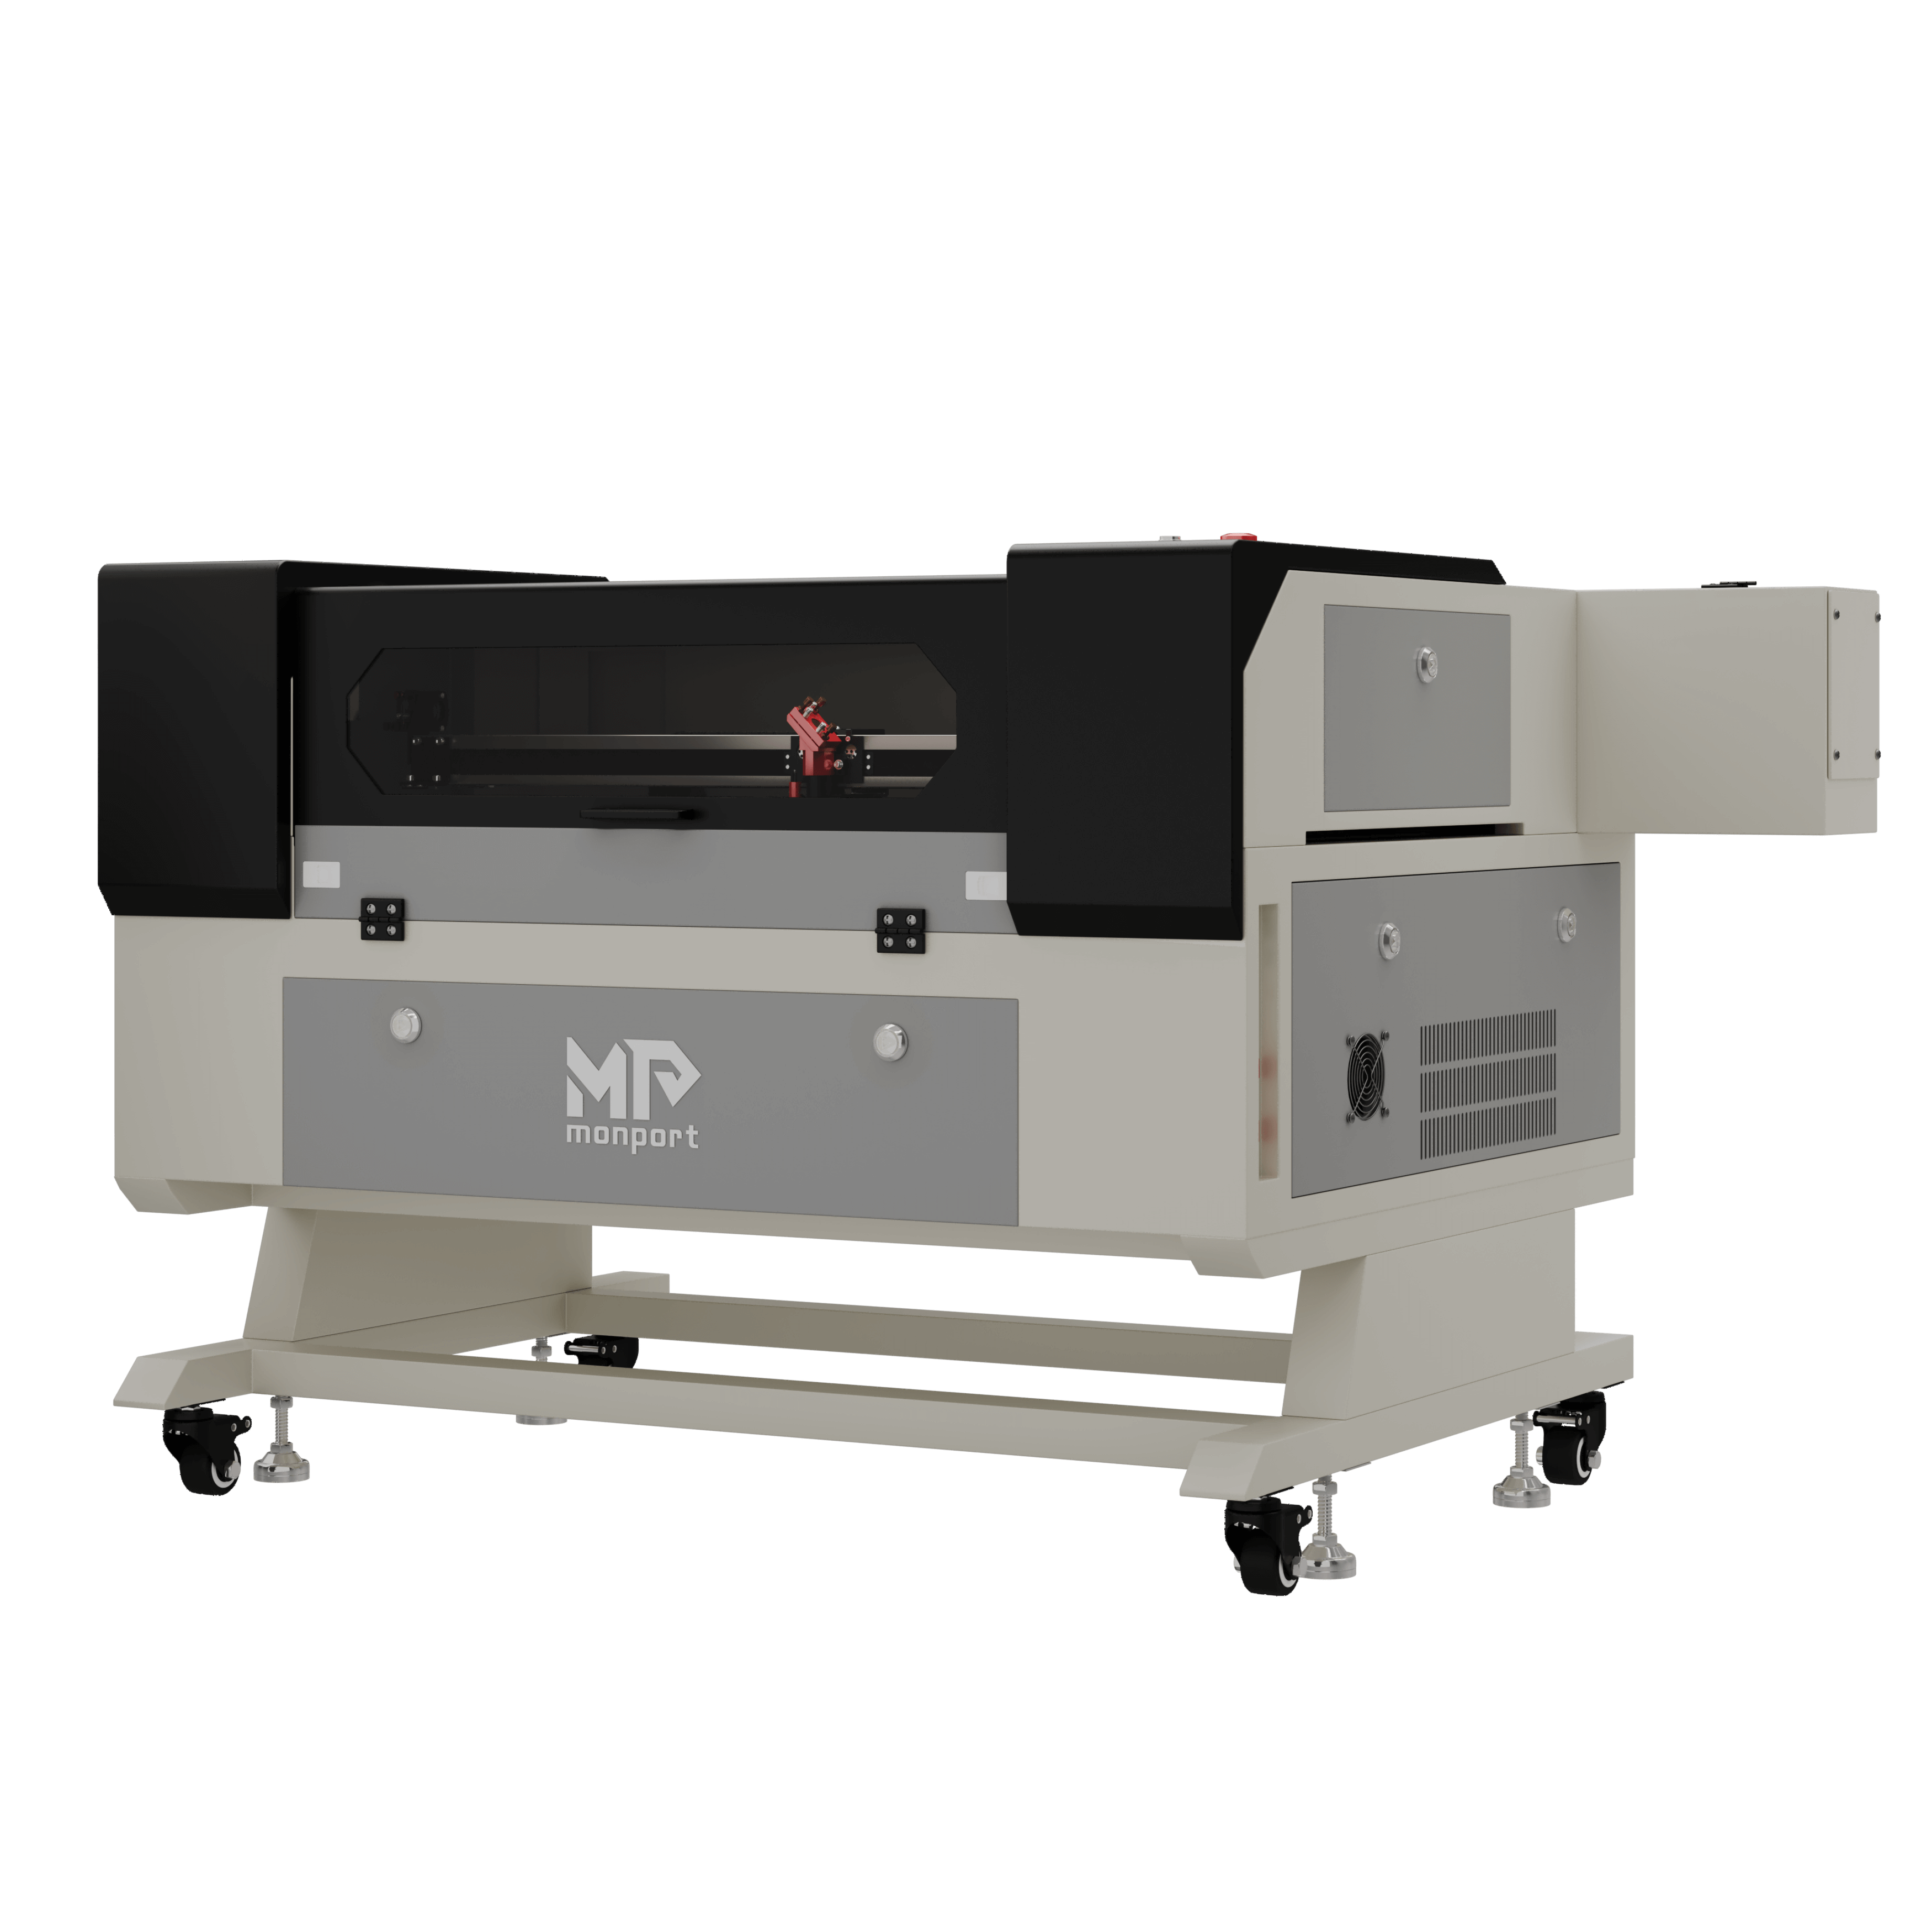
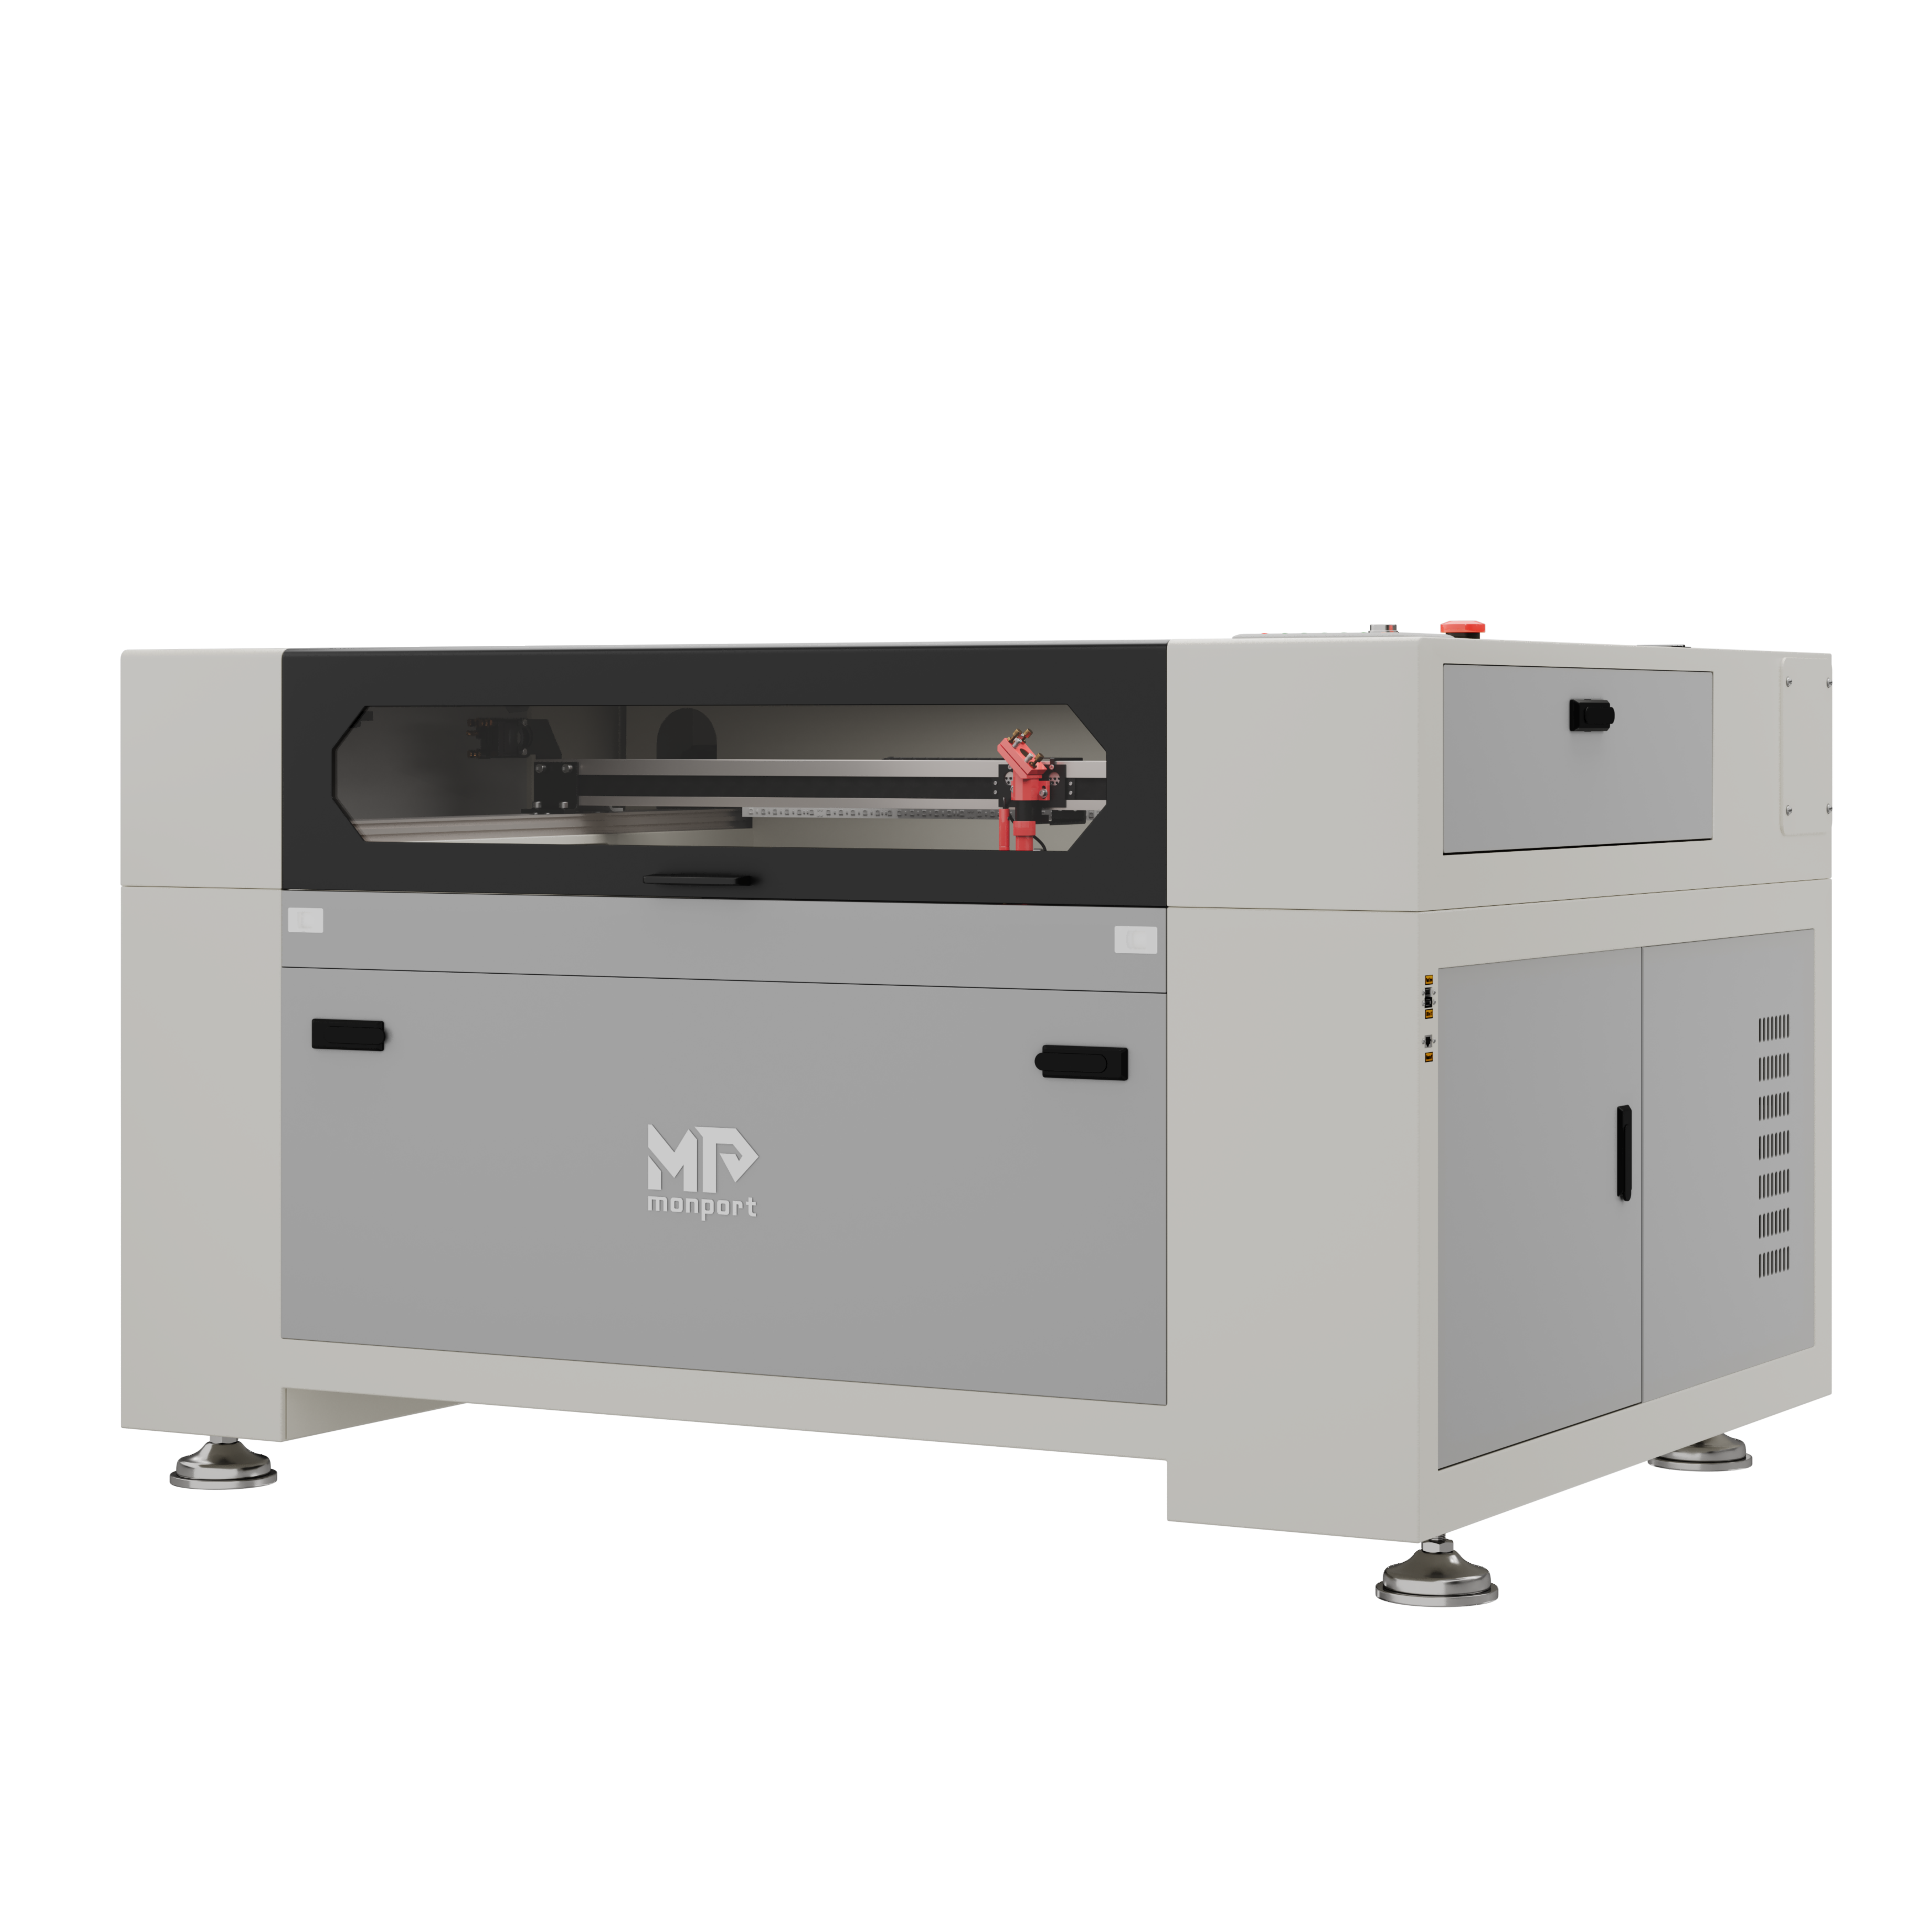
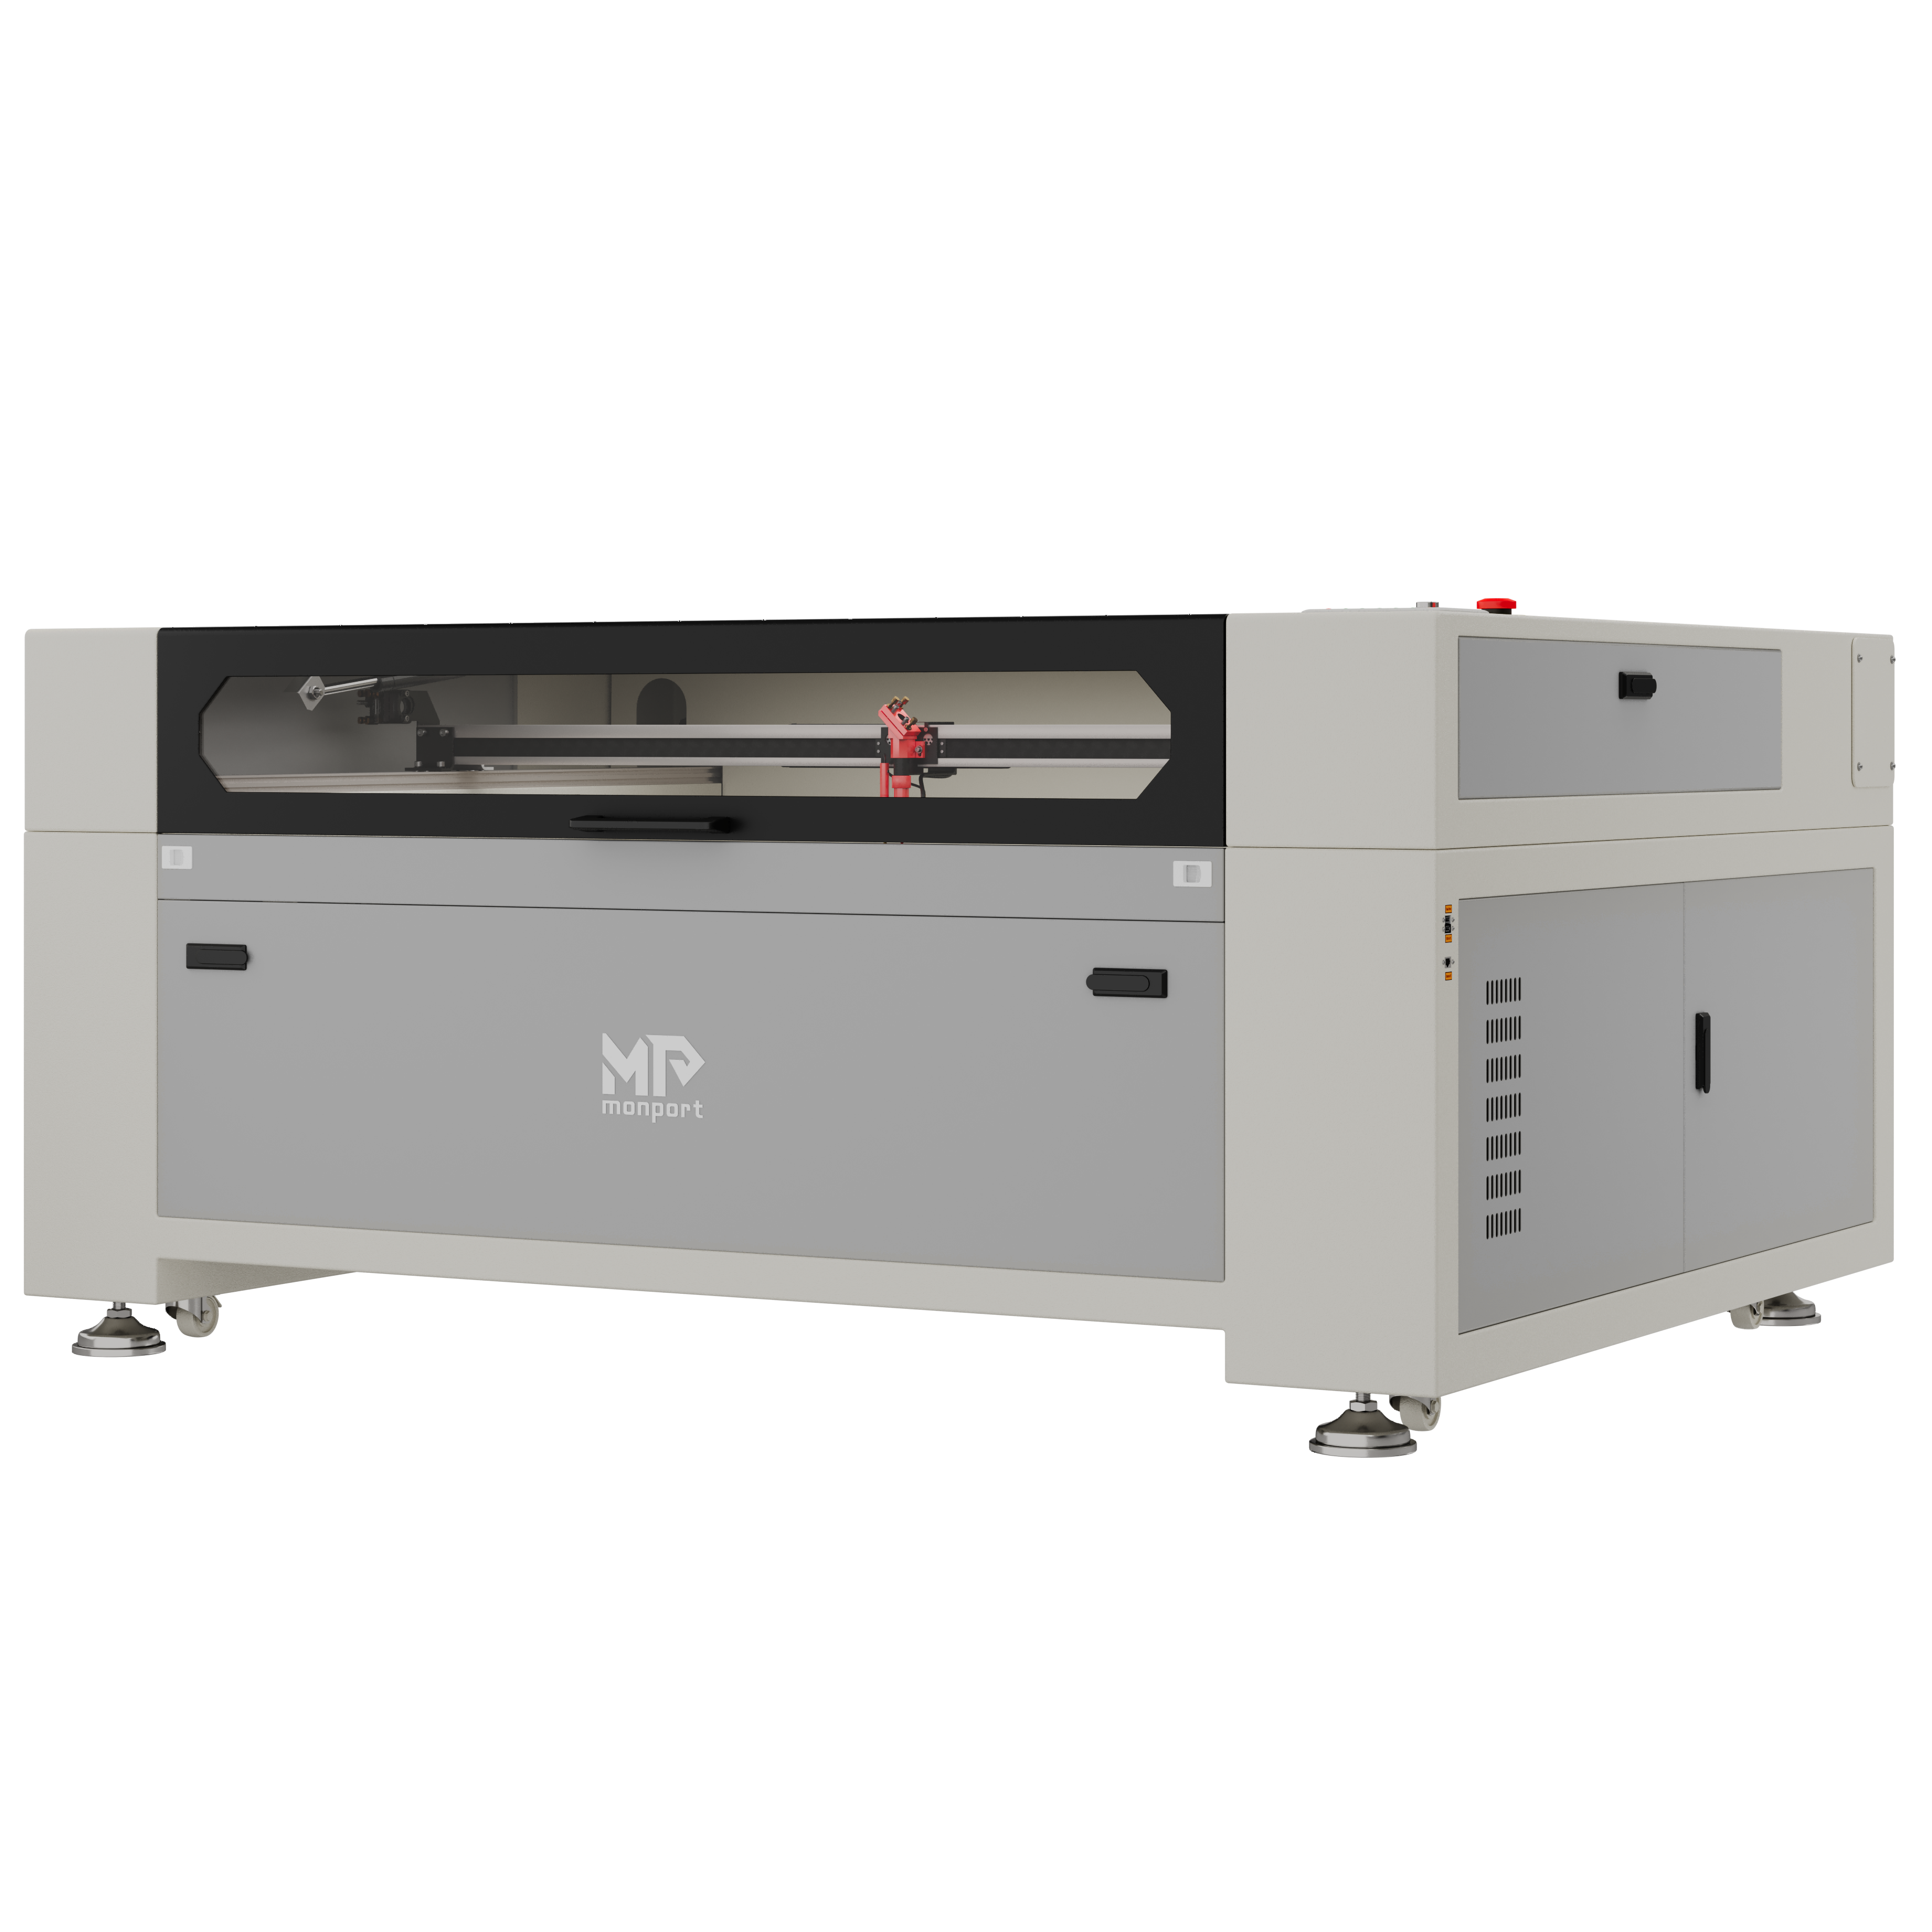
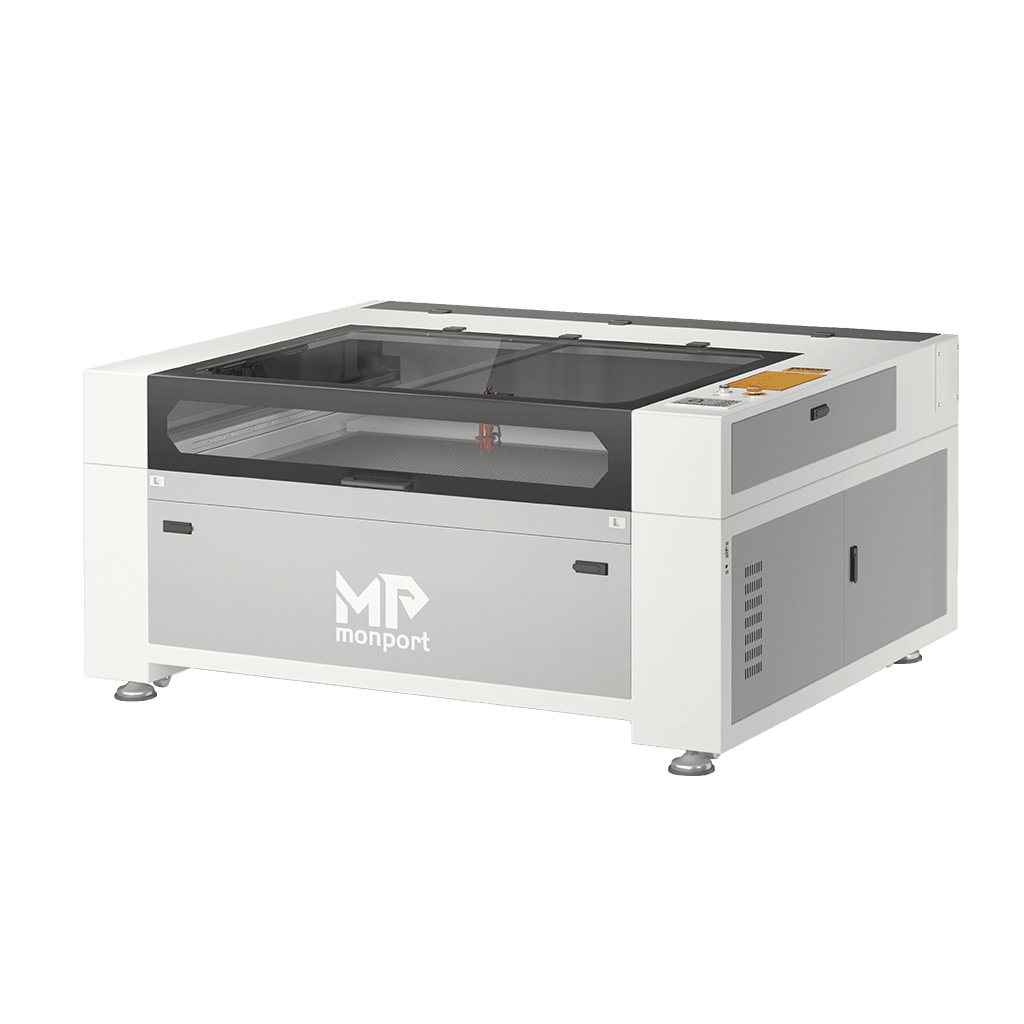
Before entering the world of design capabilities of Lightburn software, you need to connect the Monport CO2 laser engraver to a computer and make sure it can communicate with the software. Connect the Monport laser to your computer using a USB cable. The laser, though, can be plugged into a USB drive to transfer the file to the machine's control system. In addition, other advanced users can use Ethernet and IP connections. The software cannot control every laser, but it can communicate with many different types of laser controllers, all of which use different communication modes and have different functions and settings.
If you have no device configured in the software, running the software will automatically bring you here. Choosing something is important because the interface in the software will change depending on the functionality of the laser you choose. If you have done this previously but want to change the laser or add a new laser, click the Devices button in the Laser Window to display the list of devices. The software can also be configured to control multiple lasers, and Settings are stored for each device. If you do not select any of them, we will have nowhere to place these Settings, and many features in the software will not be available until they are set. On the software Devices page, you can see a list of all laser devices that have been added to the software, or a blank list at first startup. The easiest way is to click "Find my Laser" and let the software try to figure out what you have. If this does not work, your laser is connected to Ethernet or you have a Marlin device and you need to use Manual Creation.
Find my laser
On the Devices page, click the Find My Laser button and you will see this screen. Make sure your laser is powered on, is connected to your computer via a USB cable, and has completed any boot sequence (such as homing) it needs. When the laser is ready, click Next. After a brief scan, the software will list the devices it can identify.Select your laser and click Add Device.
Is your laser GCode or DSP device?
GCode equipment:
If you have a GCode controller, you will be asked if your computer is X-carve or Shapeoko, since there are specific Settings that need to be configured for these computers. If you have one, click the appropriate button, if not, click Other. You may be asked where your computer came from and if you want to go home at startup. Almost all GCode systems start from the front left.
If your machine has a homing or limit switch, enable homing at startup, otherwise turn it off. If you later see "Error: 9" in the console, you have enabled this feature but have not configured your computer to be homecatable. For some GCode devices, additional configuration of the software or controller may be required.
DSP devices:
If you have a DSP controller, the next screen will ask you for the origin of the machine. This is the corner where the machine is turned on to find the return switch. Click in the home corner. Get it wrong and things could go backwards or upside down, but rest assured that you can easily make changes later. After the laser is added, click OK on the Device page to exit.
What if you can't find the laser?
If the software cannot find your laser, it may be due to a number of reasons:
Missing driver - If your laser comes with its own software, install it. Even if you don't intend to use it, sometimes they contain the necessary drivers that the software doesn't ship with.
Unable to connect - only one application can talk to your laser at a time. If you are running other software, such as RDWorks, Easel, Carbide Create, AutoLaser, LaserCAD, make sure it is not running.
Networked devices -LightBurn cannot automatically configure networked lasers. To do this, you must click 'Create Manually' and follow the steps.
Marlin Controllers - If you are using Marlin controllers, they have a variety of baud rates and configuration options, and they take much longer to reset compared to most other controllers, so it is not practical to search for them automatically - click "Create Manually" and follow the steps.
Add the laser manually
If the software cannot automatically add a laser because it is not connected to a computer or connected through a network, you can click "Create Manually" on the Devices page. The software will open the "New Device Wizard". First, you will see the list of controllers supported by your LightBurn version: select the entries matching the controller or firmware type in your laser, and then click "Next". Then you can select manual connection.
Leave a comment