


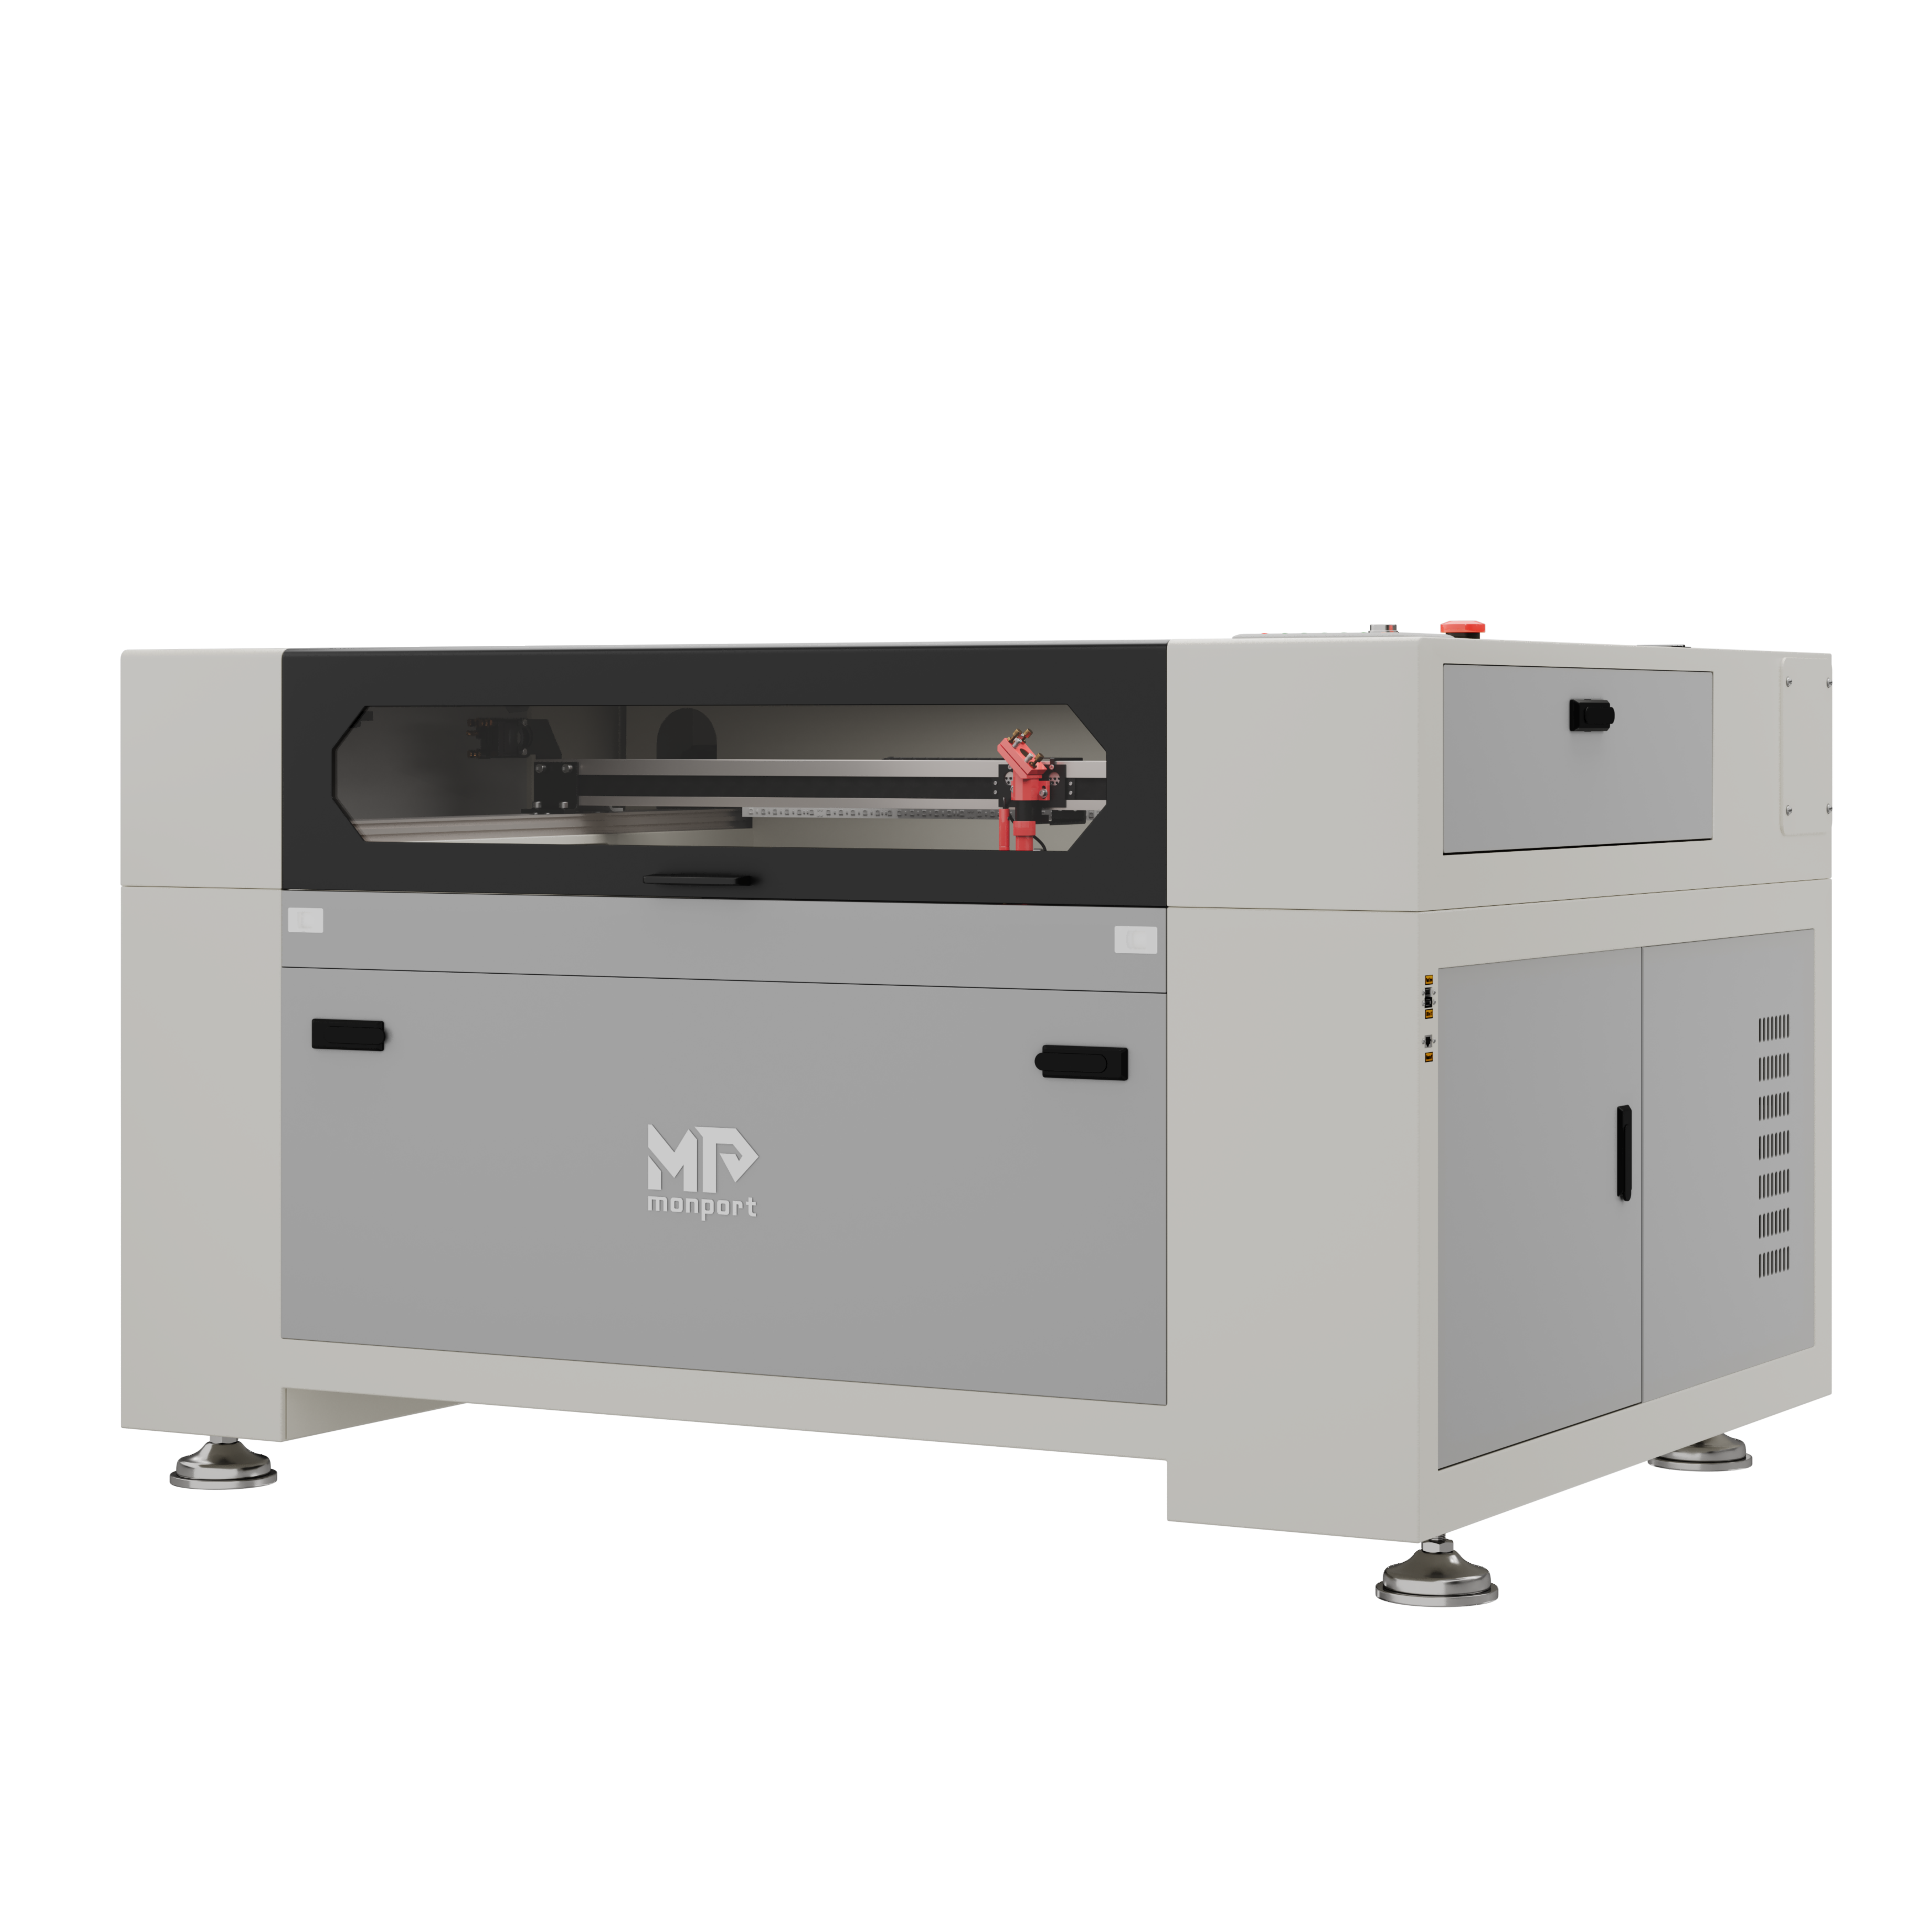


How to Replace Your Laser Power Supply?
10%
OFF
Hurry! Offer Ends Soon!
CODE:BESTMP10
COPY
CODE
CODE
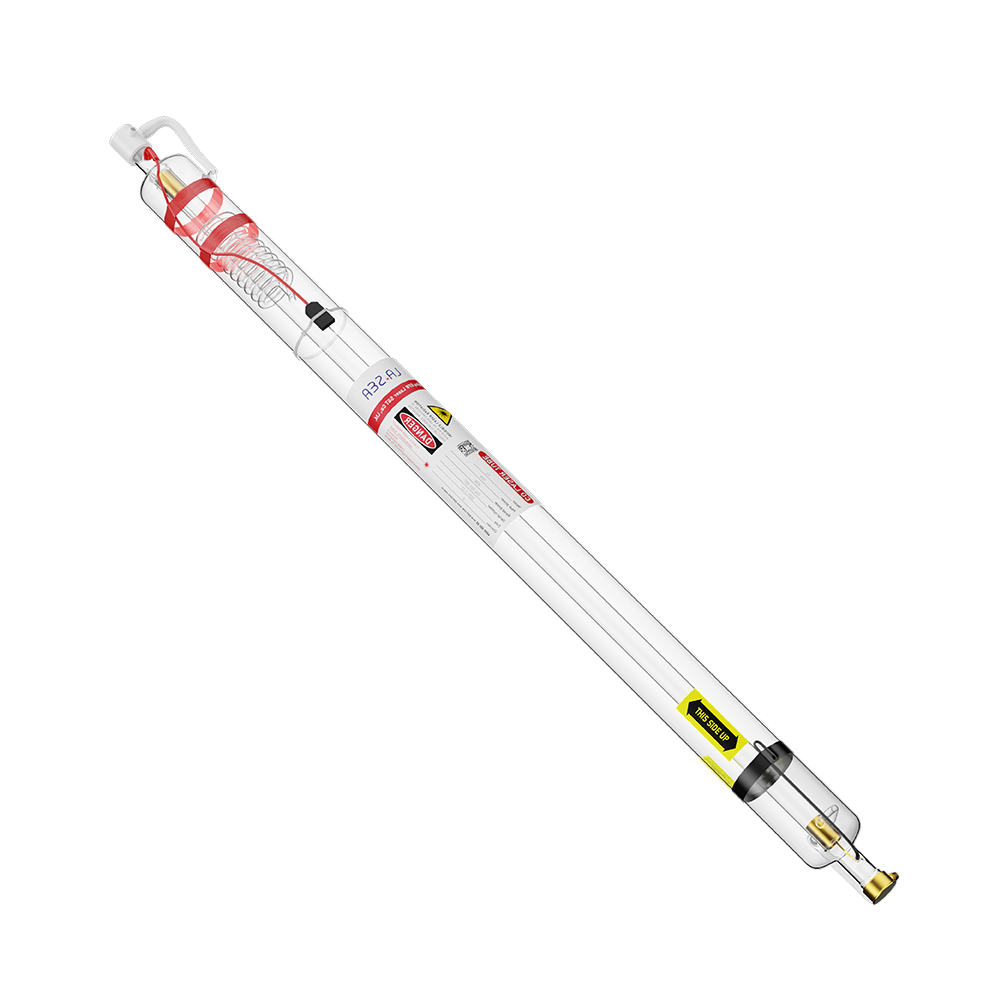
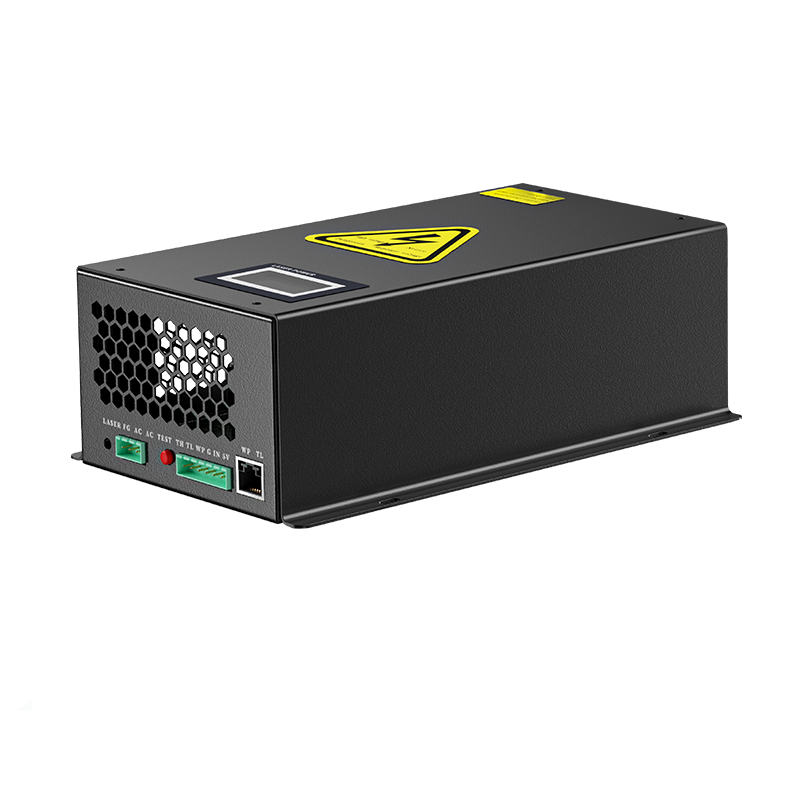
When replacing the power supply, you need to pay attention to the connection in three places, first of all, the two green plugs, the red connector, and the black low-voltage cable connecting the laser tube.
Why need to replace your laser power supply?
When replacing a laser power supply, it is important to follow proper safety procedures and ensure that the replacement power supply is compatible with the rest of the laser system. It may be necessary to consult with the manufacturer or a qualified technician to ensure that the replacement power supply is appropriate for the laser system.
Output voltage and current: Laser power supplies are designed to provide a specific range of output voltage and current that is appropriate for the laser tube or other components in the system. Over time, components such as capacitors and diodes may degrade or fail, which can cause the output voltage and current to become unstable or drop below the required levels. This can result in reduced laser power output or other issues, and may require the power supply to be replaced.
Power fluctuations and surges: Laser power supplies may be susceptible to power fluctuations or surges caused by changes in the electrical supply, lightning strikes, or other factors. These fluctuations or surges can cause damage to components such as capacitors or transistors, which can result in erratic power output or complete failure of the power supply. In these cases, the power supply may need to be replaced.
Incompatibility with new components: As laser technology evolves, new components such as laser tubes or controllers may become available that require different power supply specifications than the existing components in the system. In these cases, it may be necessary to replace the power supply with one that is compatible with the new components.
Physical damage: Laser power supplies may be damaged by physical impacts or exposure to heat or moisture. This can cause components to become dislodged or damaged, which can lead to reduced output voltage and current, or complete failure of the power supply. In these cases, the power supply may need to be replaced.
How to Replace Your Laser Power Supply?
Tools you need:
Philips head screwdriver
Wire cutters
Wire strippers
Butt connector
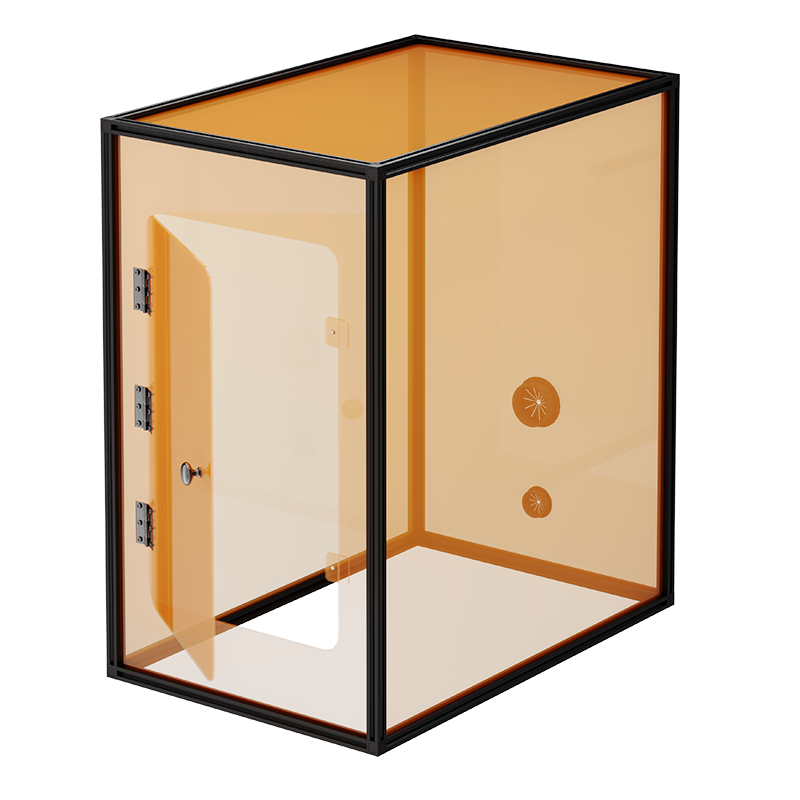
- Step 1: Open the side access panel using the triangle key and locate the laser power supply.
- Step 2: Remove both of the green plugs on the left or right side of the laser power supply.
- Step 3: In the top corner of the access panel, there is a red cable with a white coupler attached and disconnected.
- Step 4: Now, open the rear access panel that houses the laser tube and locate the black low-voltage cable that connects to the laser tube nearest mirror. Disconnect the cable and feed it back through the slot connecting to the laser power supply in the side access panel now that all cables are disconnected, you can remove the laser power.
- Step 5: Mount the new power supply in place with the four phillips head screws
- Step 6: plug the green plugs into the new power supply and screw the red cable /white coupler back together
- Step 7: Feed the low voltage cable back through the slot, and use the butt connector to reconnect the cable.
- Step 8: Turn on your laser machine and test the new power supply by running a design on an expendable workpiece.
Precaution for replacement
When replacing a laser power supply, there are several things that should be paid attention to in order to ensure a safe and successful replacement:
Safety precautions: Always follow proper safety procedures when working with lasers, which can be potentially hazardous if not handled properly. Wear appropriate personal protective equipment, such as safety glasses and gloves, and make sure the power is fully disconnected before beginning work.
Compatibility: Make sure the new power supply unit is compatible with your laser system. Consult the manufacturer's instructions or contact customer support if you are unsure.
Wiring: Take note of the order and position of each wire connector before disconnecting them, and make sure to reconnect them properly to the new power supply unit.
Mounting: Make sure the new power supply unit is mounted securely in the same position as the old one. Tighten any screws or bolts to ensure it is properly secured.
Testing: After installation, test the laser to make sure it is working properly. Observe any warning indicators, and double-check all connections and wiring before fully powering the system back on.
Professional assistance: If you are not confident in your ability to replace the power supply unit, it is recommended that you seek the assistance of a qualified technician or professional. This will ensure that the replacement is done correctly and safely, and may prevent damage to your laser system.